Monday, March 11, 2013

Wood Connection Guest Post


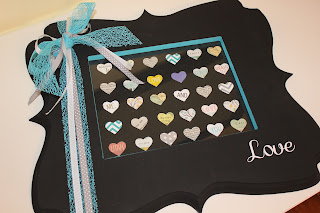
Hi everyone! I am over here blogging for the Wood Connection today & giving away a $25 gift card! I had so much fun guest posting for them and absolutely love their store. Below is a peek at the project I worked on and to see how to make it, go here! For all of those joining from the Wood Connection, welcome! To enter the giveaway, please follow the instructions below.


The Wood Connection has been so generous and is offering one of my readers a $25 gift card! To enter, you just need to follow my blog by email and you can do that by entering your email on the right of this page. Once you have completed that, leave me a comment below with your email so I can contact you if you are the winner!

I will pick a winner on Friday morning. Good luck and thanks for reading!
Sunday, March 3, 2013

A Wedding Gift


One of my favorite holidays is Christmas and one tradition I have is to get Spencer a new ornament and give it to him on Christmas Eve. I usually try to get an ornament that represents one big thing we did that year. One of my favorite ornaments we have is the one that I made Spencer the year we got married. I used our wedding invitation to make an ornament and now I try to do that as a gift for all of the couples for weddings that we have the honor of attending. This weekend we had a good friend get married and I was excited to put another one of these together for the cute couple!


What you'll need:
  • Invitation
  • Clear Glass Ornament (I buy these right after Christmas to stock up but they sell them at most craft stores throughout the entire year)
  • Paper Cutter
  • Ribbon
  • Pen or Marker


First I start by cutting up the invitations with the paper cutter. I cut the pieces into small strips and try to cut different sizes so that I get the wording in the invitation so it is still visible. Make sure to cut around each of the couples names and the wedding date. Those are the important ones and they really stand out in the final product!


Once I have the invitation cut out in strips, I then curl each piece by wrapping it around a pen or marker. 


They will then look like this....


and this...

Then you want to carefully put them inside the ornament. I always keep the best strips for last so I can make sure those go around the edges and that they are the most visible.


After you have added all of them, you just put on the top on and tie a cute ribbon around the top so that it can be hung on a Christmas tree. That is it!